What to Expect During a Dental Implant Procedure: Step-by-Step
The idea of getting a dental implant can feel intimidating if you do not know what the process involves. Words like “surgery” and “titanium post” sound intense, and the timeline can seem confusing. But the reality is that dental implant placement is one of the most predictable and well-documented procedures in modern dentistry. Millions of implants are placed worldwide every year with success rates above 95 percent.
Understanding each step removes the uncertainty and helps you prepare, especially if you are considering traveling to Playa del Carmen for your implant treatment. Here is exactly what happens from your first consultation to the moment your new permanent tooth is in place.
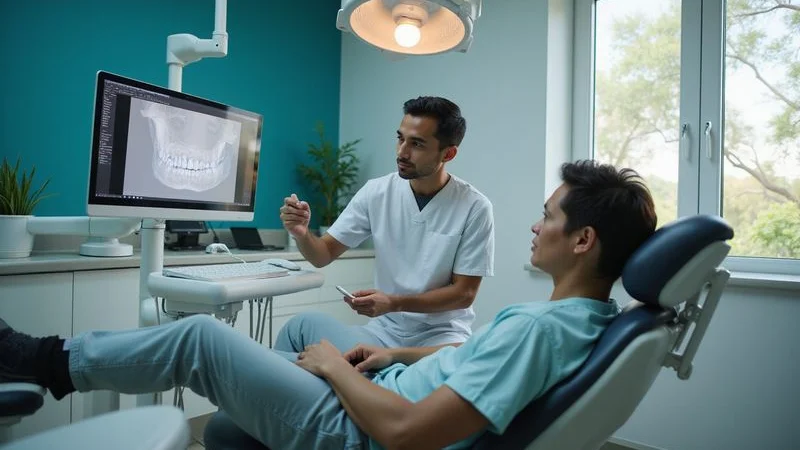
Step 1: Initial Consultation and Diagnostic Imaging
Everything begins with a thorough evaluation. During your first visit, the implant dentist will examine your mouth, review your medical history, and take a series of diagnostic images. The most important of these is a cone beam CT scan, which produces a detailed 3D map of your jawbone, nerve pathways, and sinus cavities.
This scan allows the dentist to measure your available bone volume precisely, identify the optimal angle and depth for implant placement, and determine whether any preparatory procedures like bone grafting or a sinus lift are needed before the implant can be placed.
The consultation typically takes 30 to 60 minutes. By the end of it, you will have a clear treatment plan, a timeline, and a transparent cost breakdown with no hidden fees.
Step 2: Treatment Planning and Preparation
Once the diagnostic data is gathered, the dentist creates a surgical plan tailored to your specific anatomy. In many modern clinics, this is done with digital treatment planning software that allows the dentist to virtually position the implant in your jawbone before any surgery takes place.
If your bone volume is insufficient, you may need a preparatory procedure first. The two most common are:
- Bone graft: Synthetic or donor bone material is placed in the area where the implant will go. This creates a solid foundation and typically requires three to four months to integrate before the implant can be placed.
- Sinus lift: For upper jaw implants near the back of the mouth, the sinus membrane may need to be gently elevated to create space for the implant. Healing time is similar to a bone graft.
Not everyone needs these additional steps. If your bone is healthy and dense, you can proceed directly to implant placement.
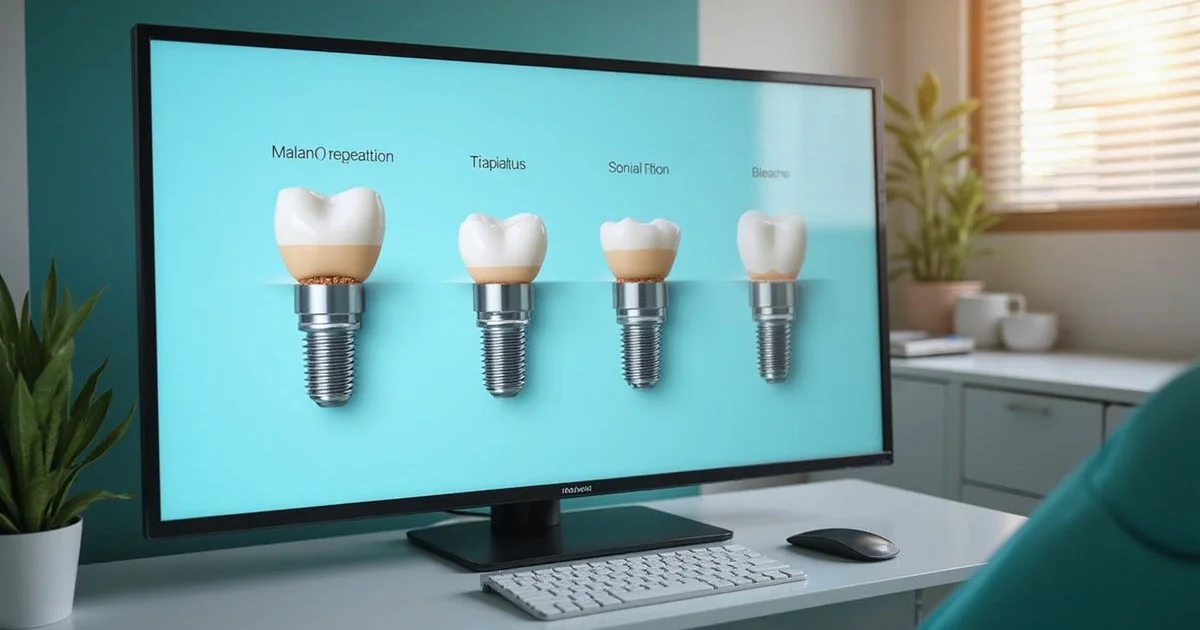
Step 3: Implant Placement Surgery
This is the step most people are nervous about, and it is also the step that is far less dramatic than most patients expect. Implant placement is performed under local anesthesia, which means you are awake but the surgical area is completely numb. Many clinics also offer sedation options ranging from oral sedatives to conscious IV sedation for patients who experience dental anxiety.
The procedure itself typically takes 30 to 60 minutes per implant. The dentist makes a small incision in the gum tissue, creates a precisely sized channel in the jawbone using a series of graduated drills, and then threads the titanium implant post into place. The gum tissue is closed over the implant with a few sutures.
Most patients report that the discomfort during and after the procedure is significantly less than they anticipated. Many compare it to having a tooth extracted. Post-operative pain is usually well-controlled with over-the-counter anti-inflammatory medication like ibuprofen, and any swelling typically subsides within three to five days.

Step 4: Osseointegration (The Healing Period)
After the implant is placed, the most important phase begins: osseointegration. This is the biological process by which your jawbone grows around and bonds directly to the surface of the titanium implant. It is what gives dental implants their remarkable stability and longevity.
Osseointegration typically takes three to six months, depending on the location of the implant, the quality of your bone, and your overall health. During this time, the implant is beneath your gum tissue, quietly fusing with the bone. You will have a temporary restoration or a healing cap so the area looks natural and stays protected.
This healing period is the reason many dental tourism patients plan their treatment in two trips. The first trip covers the consultation, any preparatory work, and the implant placement surgery. The second trip, scheduled four to six months later, covers the final restoration steps. The time in between is spent healing at home.
Step 5: Abutment Placement
Once your dentist confirms through imaging that osseointegration is complete and the implant is solidly integrated with the bone, a small connector piece called an abutment is attached to the top of the implant. The abutment serves as the link between the implant below the gum line and the visible crown above it.
Placing the abutment is a minor procedure. The dentist reopens the gum tissue over the implant, screws the abutment into place, and allows the gum to heal around it for approximately one to two weeks. In some protocols, the abutment is placed at the same time as the implant, which eliminates this step as a separate appointment.
Step 6: Final Crown Fabrication and Placement
With the abutment in place and the gum tissue healed, it is time for the final step: your permanent crown. The dentist takes a precise digital impression of the abutment and surrounding teeth using an intraoral scanner. This data is sent to the lab, where your custom crown is fabricated from high-quality porcelain or zirconia.
The crown is designed to match the color, shape, and size of your natural teeth so it blends in seamlessly. When it is ready, the dentist checks the fit, makes any minor adjustments, and permanently cements or screws the crown onto the abutment.
The result is a tooth that looks completely natural, functions exactly like your original tooth, and is built to last decades with proper care.

How Dental Tourism Patients Plan Their Trips
If you are traveling to Playa del Carmen from the United States or Canada for implant treatment, the process is straightforward and well-suited to a two-trip schedule:
Trip 1 (3-5 days)
- Day 1: Consultation, CT scan, treatment planning
- Day 2: Any preparatory work (extraction, bone graft) if needed
- Day 3: Implant placement surgery
- Days 4-5: Recovery, post-op check, enjoy Playa del Carmen
Healing period at home: 3-6 months
Trip 2 (3-4 days)
- Day 1: Evaluation, abutment placement, digital impressions
- Day 2: Crown fabrication (same-day if the clinic has in-house milling)
- Day 3: Crown placement and final adjustments
- Day 4: Final check and departure
Some clinics offer immediate-load protocols for qualifying patients, where a temporary crown is placed on the same day as the implant. This reduces the number of trips but is not appropriate for every case.
Pain Management: What to Honestly Expect
One of the most common fears around dental implants is pain, and it is important to set realistic expectations. The surgery itself is painless thanks to local anesthesia. You may feel pressure and vibration during the drilling, but there is no sharp pain.
After the anesthesia wears off, you can expect mild to moderate discomfort for the first two to three days. This is typically managed with ibuprofen or acetaminophen. Most patients say the discomfort is less than what they experienced after a tooth extraction. Prescription pain medication is available if needed but is rarely necessary.
Swelling and minor bruising around the surgical site are normal and usually peak on day two before gradually subsiding. Applying an ice pack in 20-minute intervals during the first 24 hours helps significantly. Most patients return to normal activities within one to two days and resume a regular diet within a week.
Your Smile Is Worth the Investment
A dental implant is not just a medical procedure. It is an investment in your quality of life, your confidence, and your long-term health. Knowing exactly what to expect at every stage makes the process far less stressful and helps you make an informed decision.
If you are ready to explore dental implants in Playa del Carmen, schedule a free virtual consultation with our team. Send us your dental records or X-rays, and we will provide a personalized treatment plan and transparent quote so you can plan your trip with confidence.